Hi guys. I've decided to make a proper extensive tutorial on how to paint MDF to get that perfect mirror finish since my original worklog thread got so much interest and questions about how to paint. This will be a very complete guide and I hope to help all of you out there who struggle to get a great paintjob with spray paint and MDF.
It will be done as a worklog and I'll post more as I go. Today was just the first day of work. I'm just painting a small piece of MDF. I'm doing it this way for a couple reasons. First, some people just starting to paint can simply follow along with me as I go, and second it takes a long time to work, take pictures, edit and upload pictures, and finally post the information here so I'd much rather do it in parts.
So without further delay let's begin.
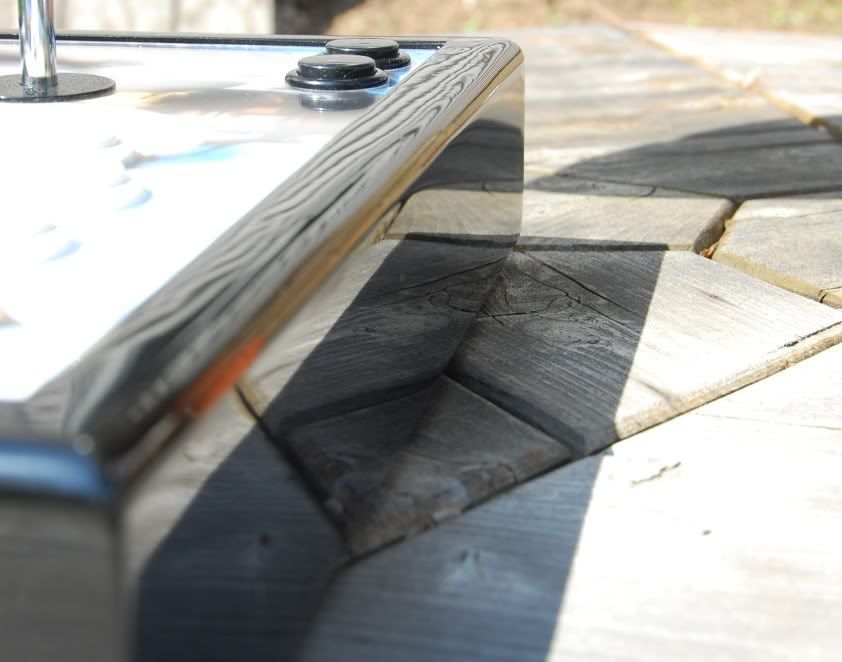
This is a picture of my case that I built and have a worklog for on this forum. This is what it will look like at the end.
![mirrorfinished.jpg]()
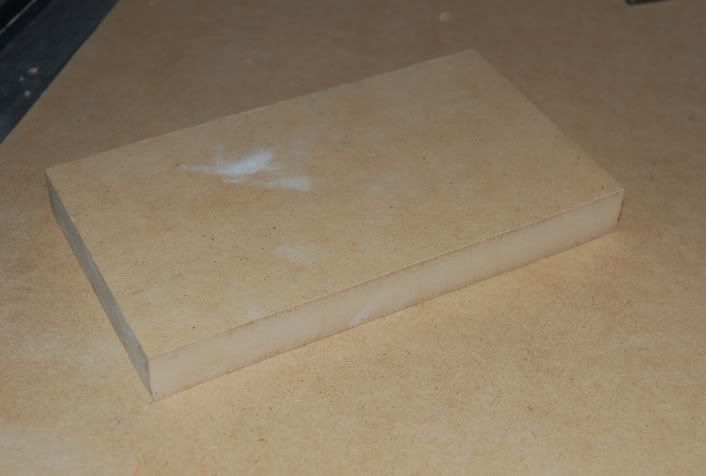
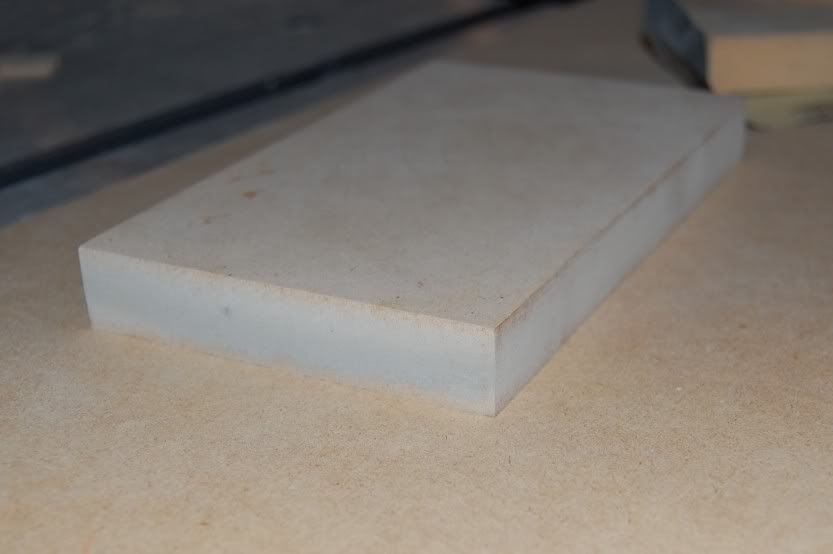
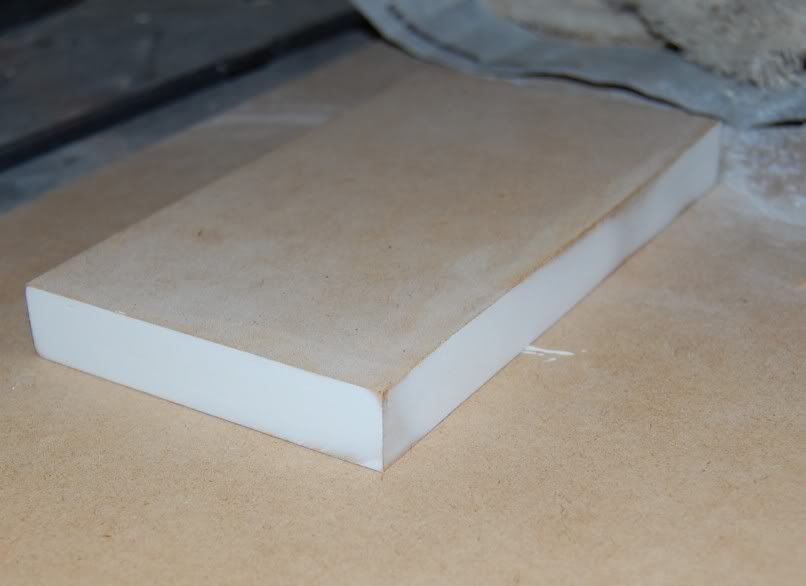
The piece of MDF that I'm going to paint. It's just a scrap piece I had lying around. It's going to be the best looking useless piece of wood ever!
![mirrorfinish1.jpg]()
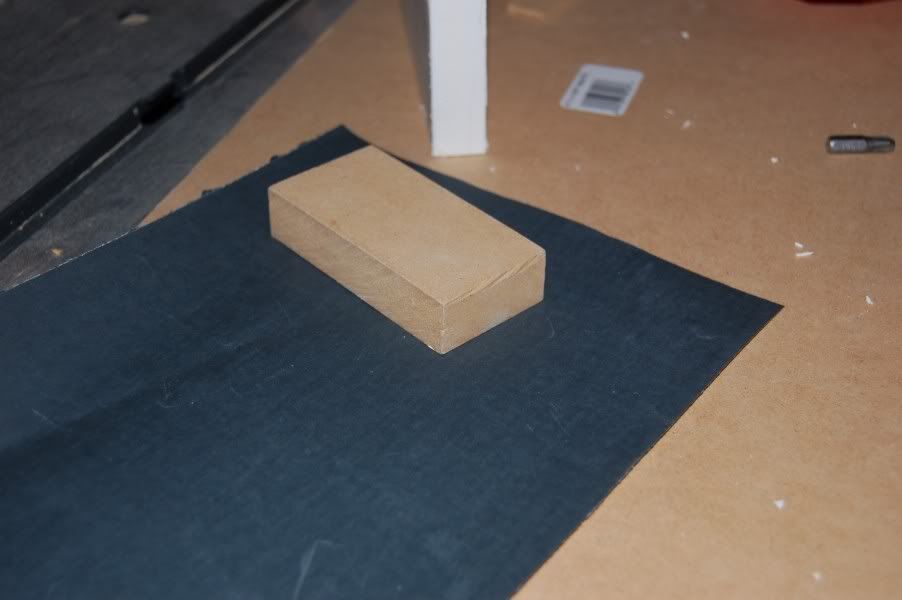
This is after sanding with 220 grit paper and a sanding block. Always use a sanding block. The goal in sanding is to make the surface flat, your hand is not flat and won't work nearly as well. Be sure to sand it pretty well especially around every edge. Edges are your enemy when going for a mirror finish. Sand those things down.
![mirrorfinishsanded.jpg]()
My homemade sanding block. For this project a 3M brand type block would have been fine, but for arcade sticks I recommend making one like this. Just cut a piece of spare wood to a good size. The reason I recommend this is because a store bought sanding block is too big. It will hit the edges of the case you're working on and will therefore cut through to the wood/lower coats of paint. With this little block you can sand in the middle of the wood pieces of your case without hitting the edges until you want to. The paper in this picture is 600 grit.
![mirrorsandingblock.jpg]()
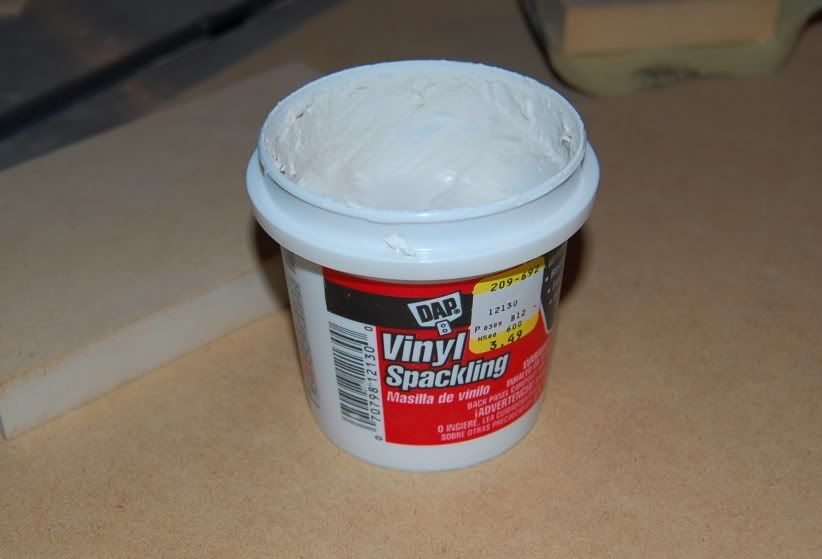
This is what I used to put on the edges of the MDF. You have to use something to seal the edges or they will just continue to soak up paint like a sponge and will just be a general PITA.
![mirrorspackling.jpg]()
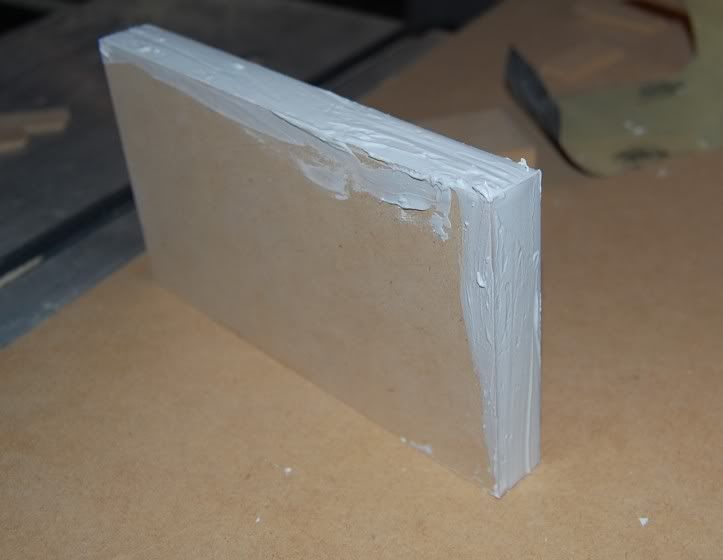
After application of the spackling. Just spread it on with your finger. I used a plastic bag to that I didn't get it on my skin. You don't need it any thicker than this, and even this is a little too thick. Just a very thin layer that covers the whole thing is all that you need. Other acceptable techniques to seal edges are to use wood sizing (a mixture of glue and water), wood filler, or bondo. There are many things to use I just picked spackling randomly so it may not be the best solution.
![mirrorspacklingapplied.jpg]()
This is after waiting a couple hours for the spackling to dry and then sanding with the 600 grit shown above. 600 doesn't need to be used. I would recommend 400 instead but I didn't have any lying around so I used 600. 600 works just fine too but you will have to use more of it and it's a waste to do that. The little spots that you see where the spackling was sanded off is fine. You want that as little as possible but a few spots won't matter as long as you don't feel any grain in them and they feel very flat and smooth.
![mirrorspacklesanded.jpg]()
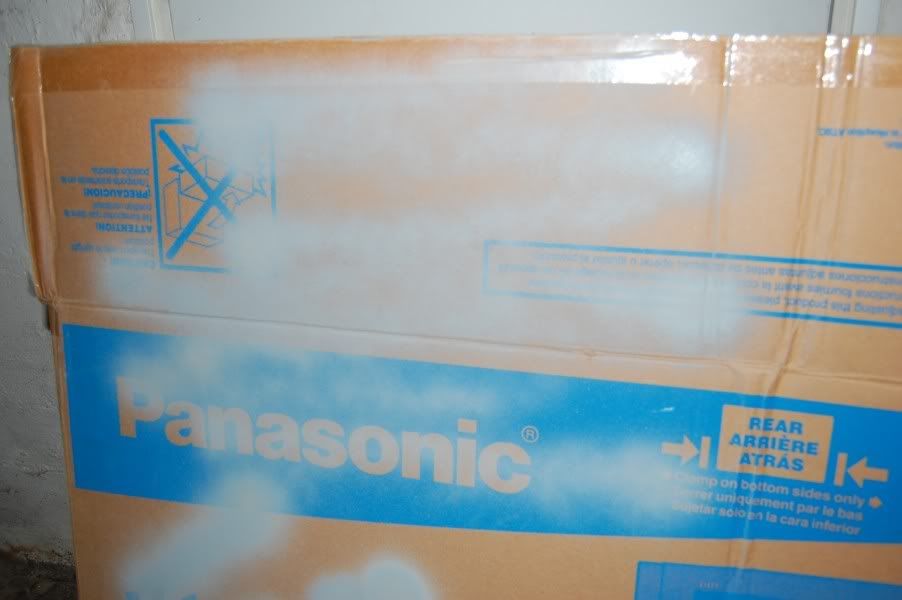
I sprayed a few strokes onto a box to show you the proper painting technique. Imagine the work surface is in the middle of those strokes. So you start off of the wood and then make a pass and don't let off the flow until you are off again. Be sure to let off though. Don't keep the paint going for multiple passes. Keep about 10 inches or so away from the surface you're painting and put on very thin coats like you see below. They should be so thin that after just one coat you can still see through to the wood. Every coat should be this thin.
![mirrorpaintingtech.jpg]()
This is after about 10 of the thin coats. I do 2 coats at a time, then wait a few minutes for them to dry a little, then repeat until it's a fairly uniform coat. The right side shows you what happens when you don't seal the edges. I left it like that on purpose to show you all the need to seal the edges. These 10 coats comprise the first actual coat of primer if that makes sense. I used a high solids filler primer, and I suggest you all do too. Filler primer fills in the pores that exist in MDF. Even the non cut part of MDF is very porous and needs a high solids primer. I had to use more coats on the top of this piece than the sides that were sealed with the spackling. Don't worry about the dust nibs that will always be attracted to the case. Leave them as they will be sanded out later.
![mirrorfirstcoatdone.jpg]()
That's it for today fellas. More to come soon.
Day 2 Update below.
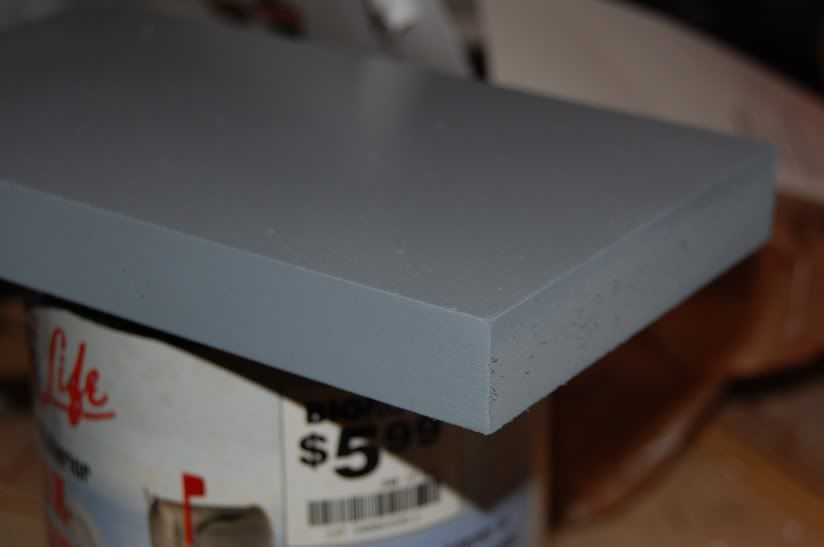
Ok this is after sanding the primer with 400 grit. I do this part dry because if you cut through to the MDF and get it wet it's big problems. Trust me you don't want that happening. I then put on a second coat of primer and sanded with 400 again. I still cut through a tiny bit on a corner but it shouldn't be a problem hopefully. You won't be able to sand completely flat dry sanding as you can see from the slight texture. You need wet sanding for that, but there's really no choice when working with the first coats of primer. All of the color/clear coats will be wet sanded. For reference I used about a whole sheet of sandpaper to do just that top part and the long side.
![primersanded.jpg]()
This is after the first coat of color. Which is actually about 6 thin coats. I did 3 coats, waited 5 minutes to dry slightly, then 3 more coats. Now you can really see the negative effects of MDF cut edges that aren't sealed. The paint I used is Valspar Hi-Gloss Lacquer. Any high gloss spray paint should work. You get what you pay for though so don't skimp on paint.
![mirrorfirstcolor.jpg]()
That's it for today everyone. Now I have to wait 3 days to sand the color coat so don't expect any updates earlier than that.
Day 4 Update Below
OK guys. Now we get to the heart of the matter. Wetsanding. This is what gives you that mirror finish. It's all in the sanding.
This is how you do it. Take the sanding block with the paper and dip them together briefly into a bucket of water. Put a tiny bit of dish soap in the mixture so that it's better lubricated. Take it out and maybe flick the excess water off but make sure there is enough on it so that there is not any dry spots on the surface when you start working. Work in small areas so that you have plenty of water on that spot. When you start sanding do it with very light pressure, and by light I mean almost no pressure at all. You don't need it. The water sort of bonds the paper with the suface and makes it stick to it. Just sand back and forth lightly. After sanding for maybe 10-15 seconds you will notice that the paper starts to grab and doesn't glide very easily anymore. You must stop at that point. Thats means that the excess sanded material is being caught between the paper and surface. When that happens stop sanding. Keep some dry towels nearby. Wipe off the water completely from the surface for 2 reasons. First it clears away the sanded material, and second you need it to be dry in order to see where you need to sand more or where you need to stop sanding. You will know where you need to sand more because there will be little spots of black that haven't been hit yet. This will be illustrated in a picture below. Stay away from the edges! What I do is sand only in the middle of the case. If you go to an edge it will sanded off in no time. So what I do is sand in the middle and then when I'm almost done I hit the edges with the small edge of the MDF block. That way I can get into those really tight spots. Then when I get the edges adequetely sanded I will then go over it very briefly with the big part of the sanding block just so that the scratches on the edges will match the direction of the scratches on the rest of the case. As you can guess this process takes a very long time. If you are not patient with it you will get very bad results. Another thing I do after wiping off the surface is to move the sandpaper about a centimeter on the block so that the edges are fresh again because the main part of the paper that contacts the surface is the edges. You repeat these steps until you have sanded sufficiently.
This is what it should look like as you are sanding.
![sandingprocess.jpg]()
This is what it should look like when you are done. The right is ready for the second coat of paint. I did half so that you can clearly see the difference between start and finish. It's actually still not ideal. See those tiny spots on the right side? If you did this perfectly there wouldn't be any of that, but I was already starting to cut through to the primer so I had to stop. Get it as good as you can without cutting through. This will be good enough for this coat. The most important coats to get absolutely perfect are the last color coat and the clear coat.
![halfcolorsanded.jpg]()
I will finish sanding today and put on the second coat of paint so I will update again later on.
Second color coat update
OK guys sorry for the delay, been busy with life.
This is after wet sanding the first color coat. As you can see I cut though to the primer and it looks pretty crappy, but it's flat and that's the goal. Cutting through will always happen unless you are a professional painter, in which case you don't need this tutorial. That's why more than 1 coat is needed. I'm just happy I only cut through to the primer and not all the way to the wood.
![firstcolorsanded.jpg]()
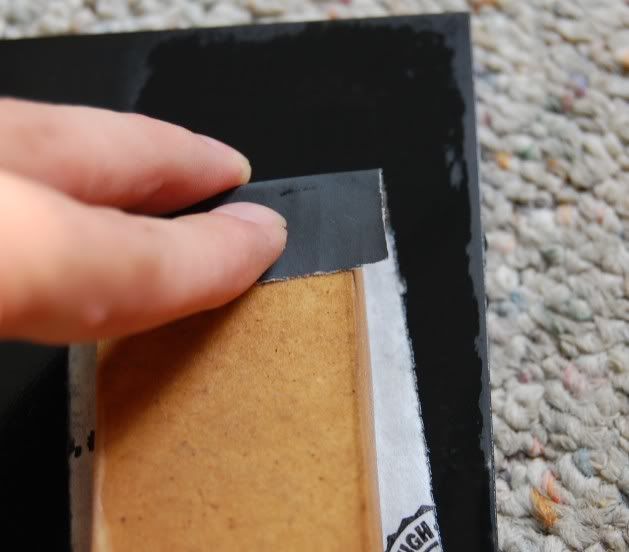
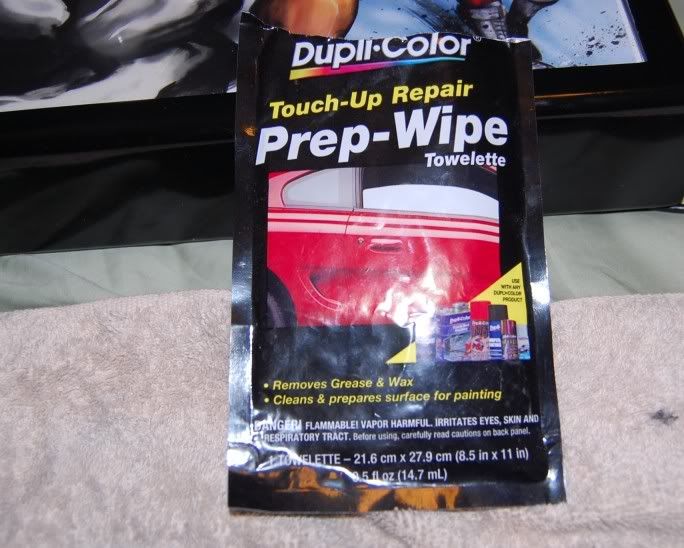
Now you're ready for the second color coat. But first you have to make sure there are no fingerprints, dirt, oils, grease, or anything left on the surface. For that I use these prep wipes.
![prepwipes.jpg]()
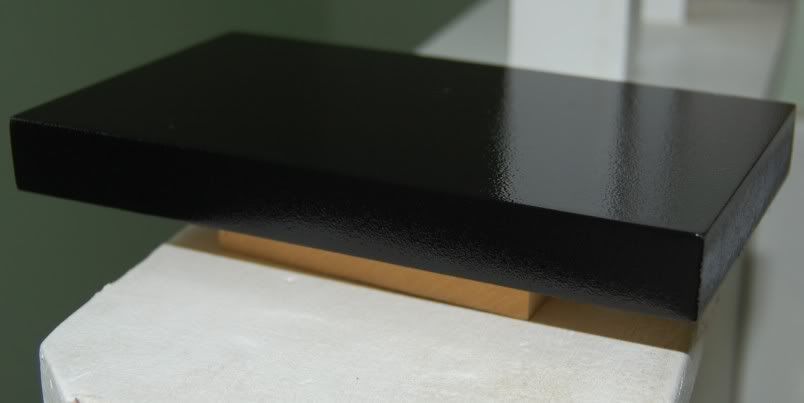
After the surface has been cleaned you're ready for the second coat of color.
![secondcolorcoat.jpg]()
That's all I can do for today fellas. The next steps will be to sand the second coat, apply clear, sand the clear, and buff to a mirror finish.
Update
These next couple of pictures were taken with my point and shoot instead of the SLR that was used previously so I apologize for the reduced image quality. The next set will be done with my SLR again.
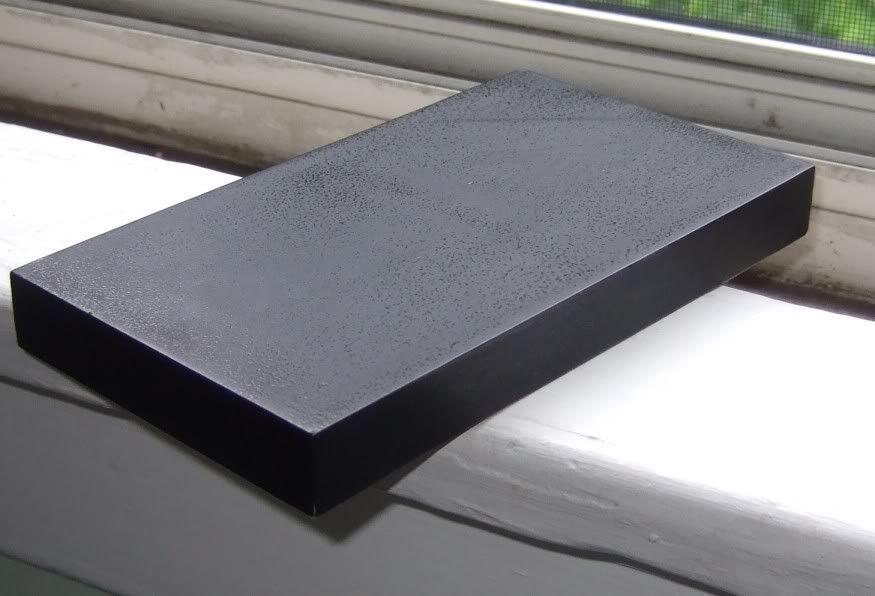
Almost to the finish line! This is after sanding the second color coat. As you can see there are a lot of tiny dots left still. Ideally you want to get all of those out, but doing so without cutting through to the primer would be nearly impossible so I just get it as good as I can on the last color coat while making very sure that I don't sand enough to cut through. When we sand the clear, however, we will have to attempt to attain perfection, but we'll get to that later.
![lastcolorsanded.jpg]()
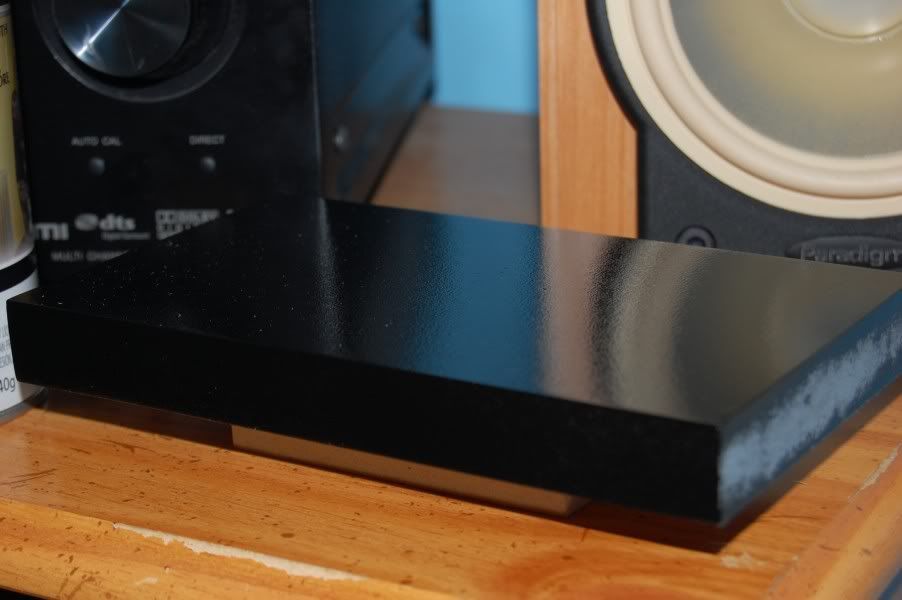
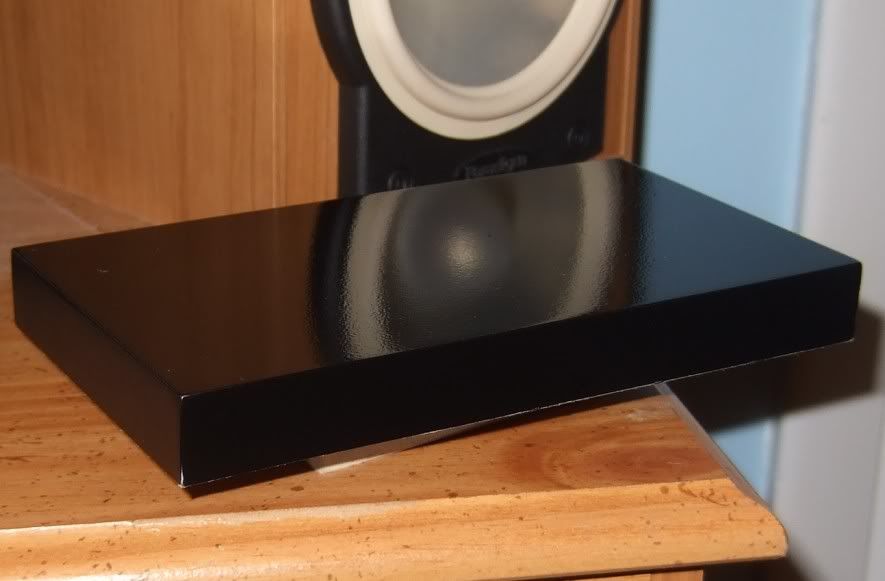
After applying the clear coat. Again, you put this on in very thin layers. This is about 5 thin layers. Looks a lot better than the last picture doesn't it? This is why I don't worry too much about sanding the previous layer perfectly. The clear coat covers up those imperfections. Use the same brand and type of clear as you did the color. I used Valspar Hi-Gloss Lacquer for both the color and clear coats.
![clearcoatapplied.jpg]()
The next update will be on Friday with the finished product so stay tuned.
")


")